
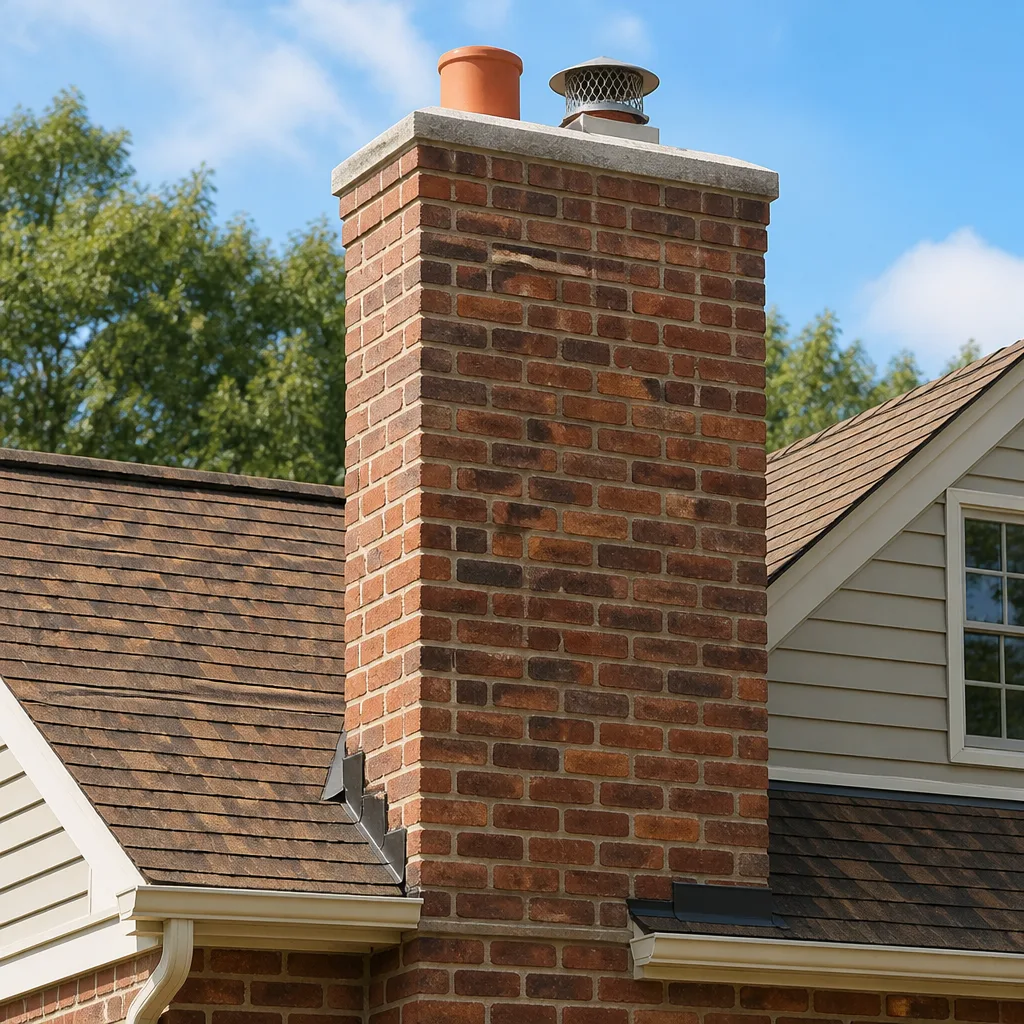
 Masonry repair
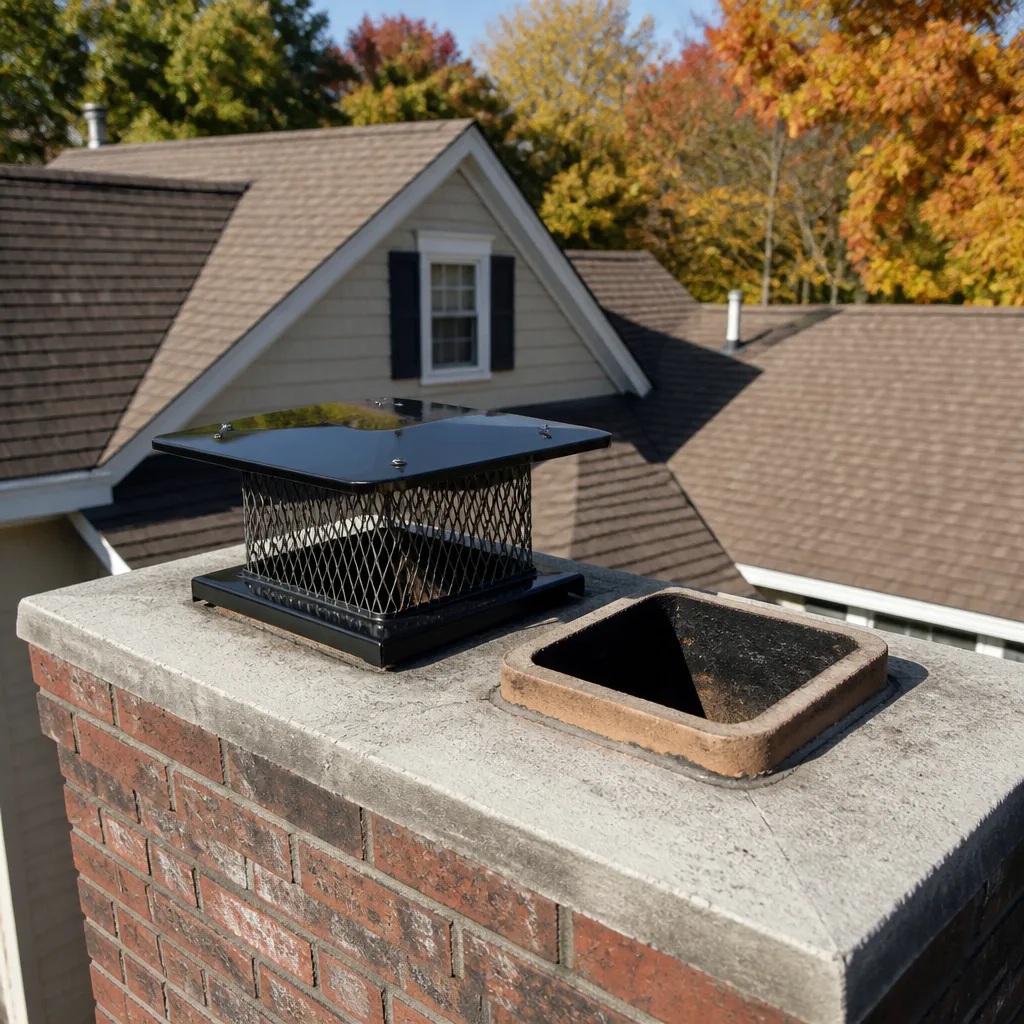 Sweep & inspection
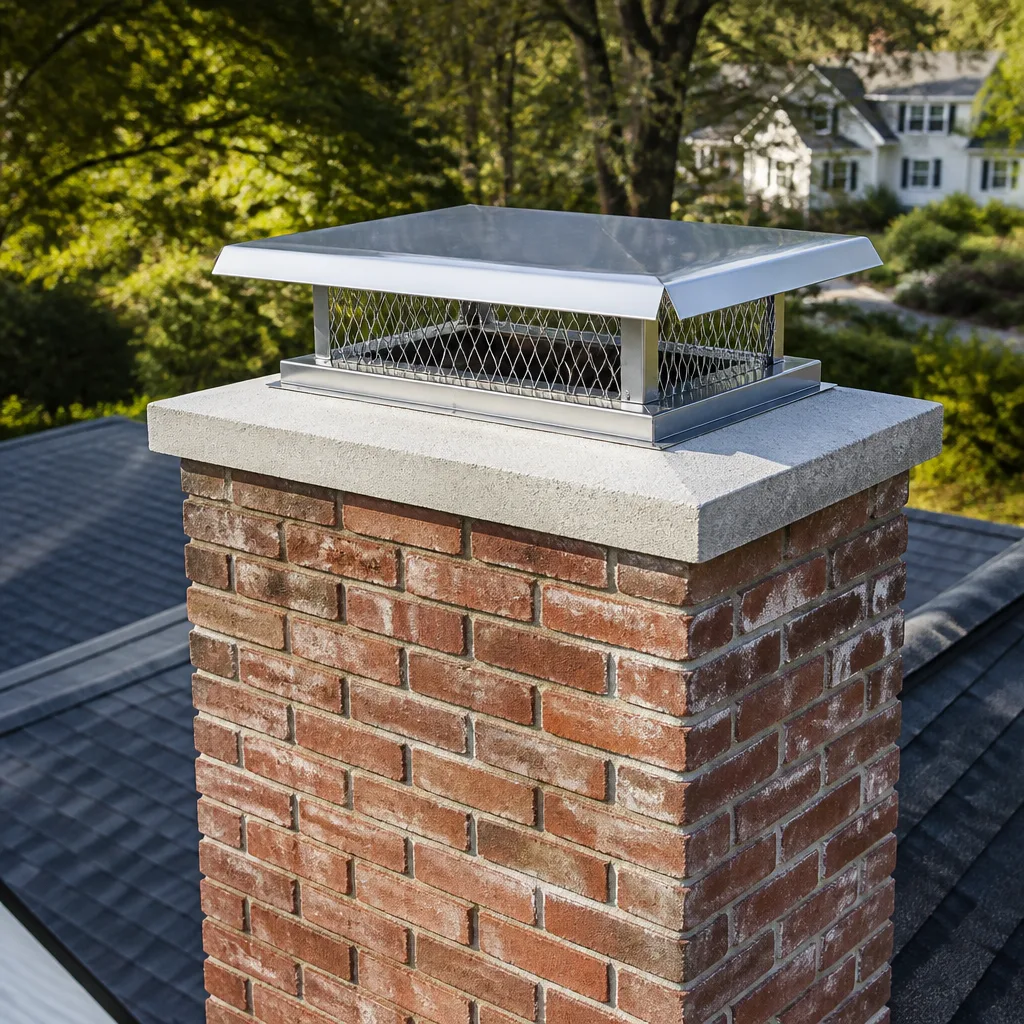 Caps & crowns
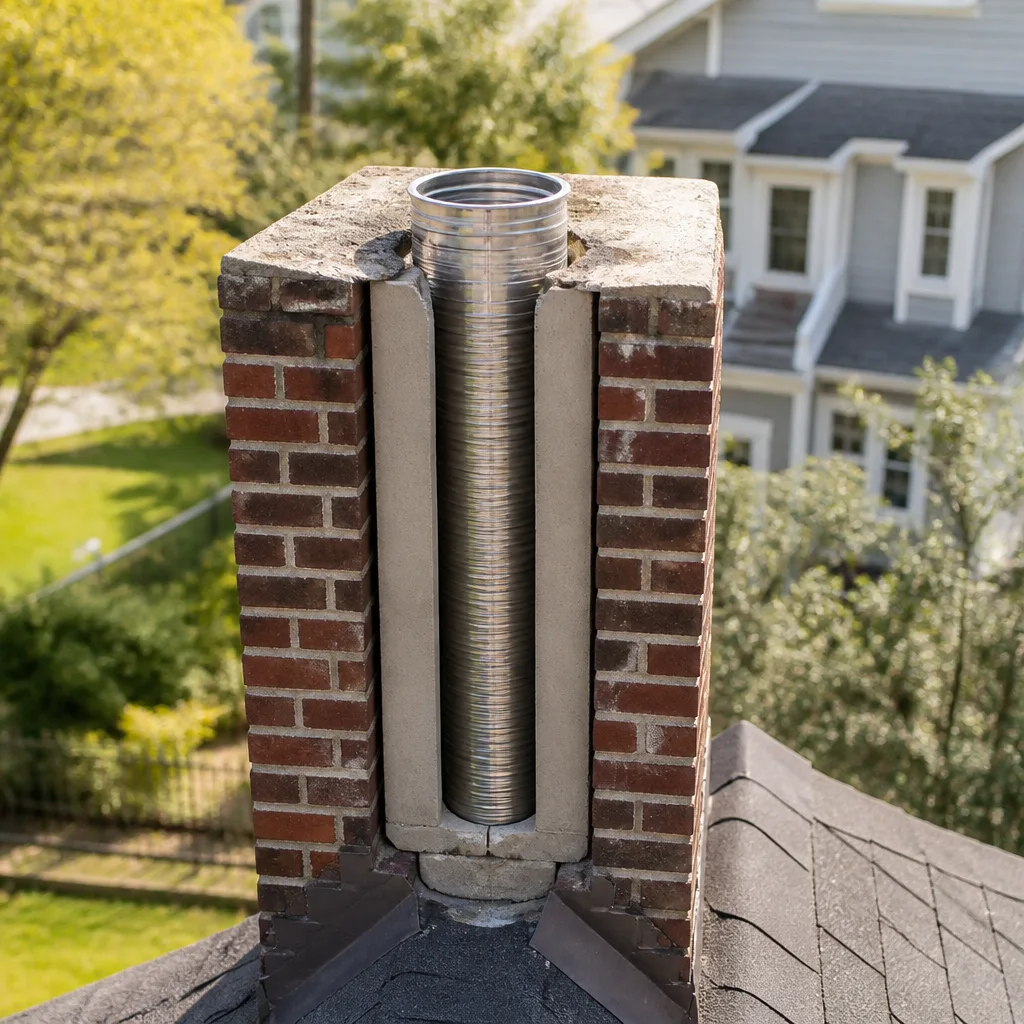 Flue relining
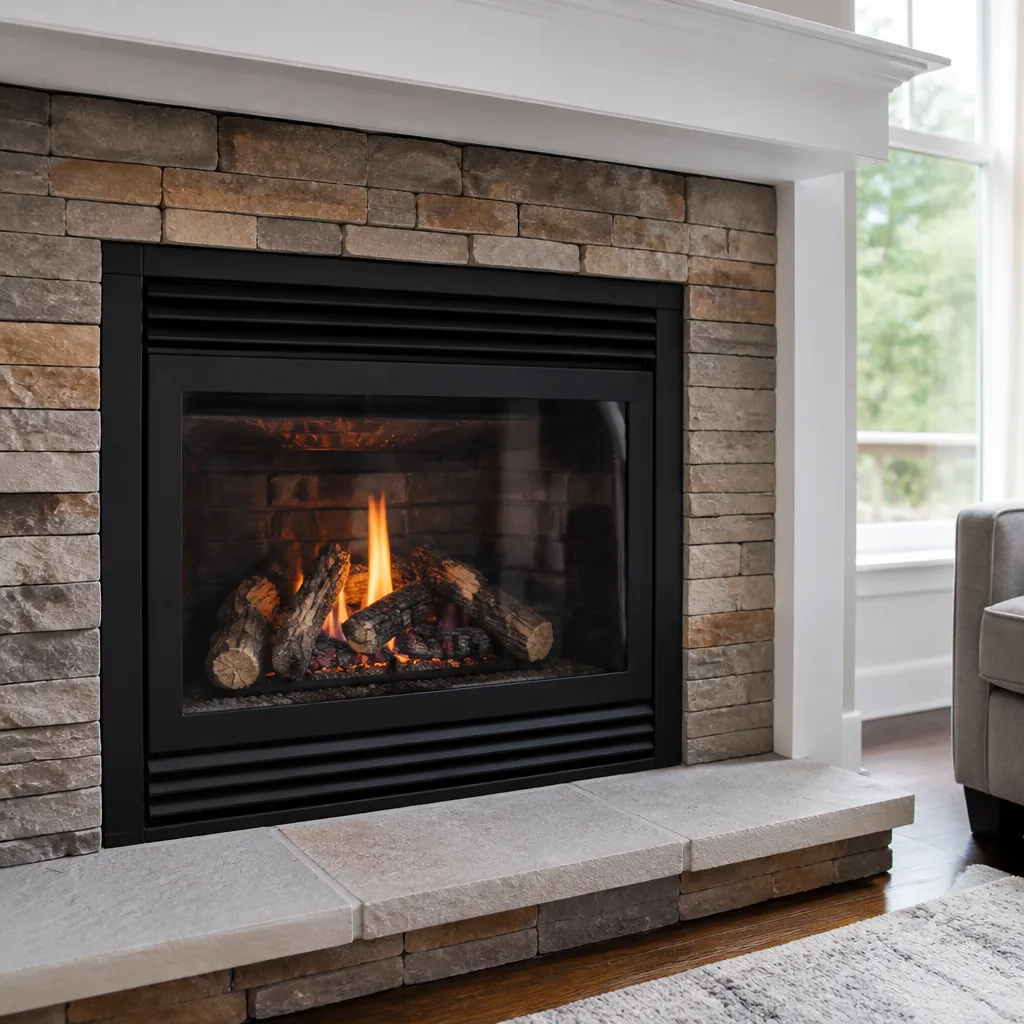 Gas fireplace service
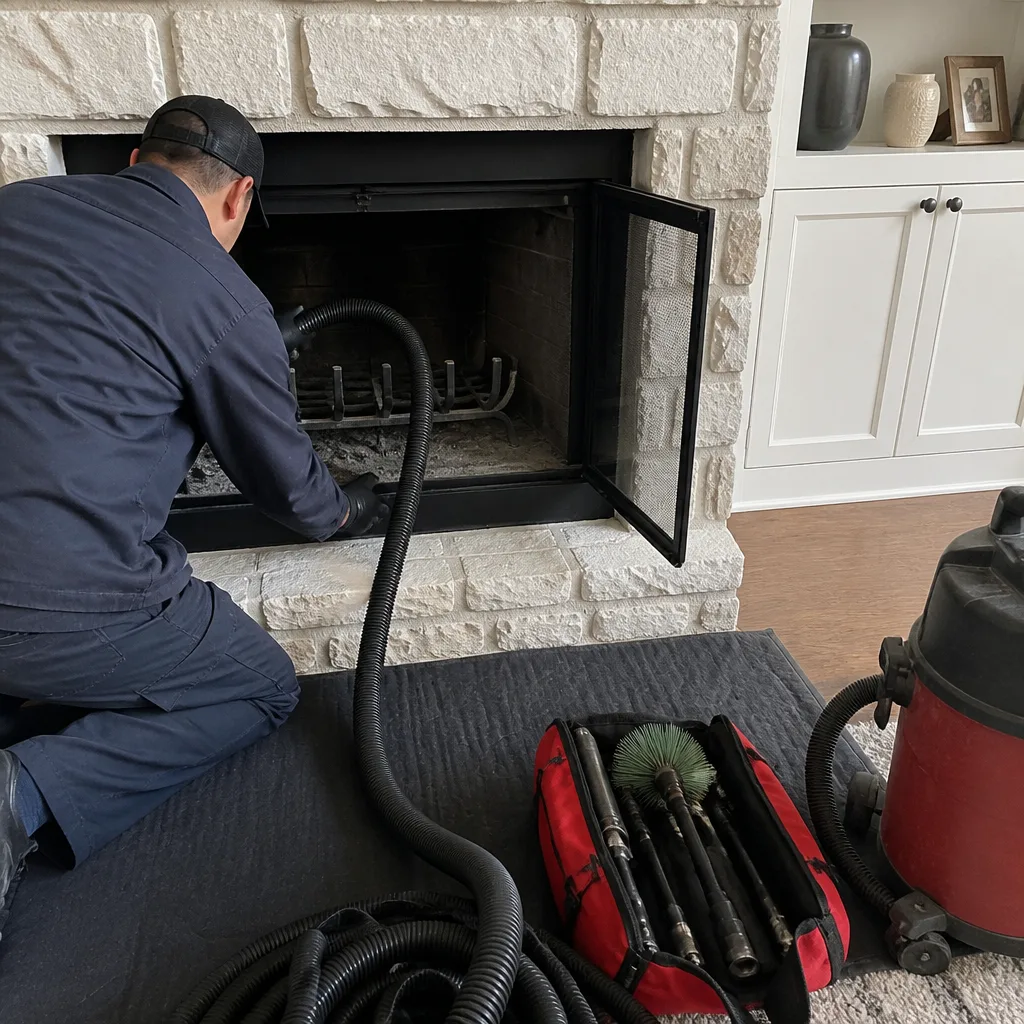
Level 1 sweep and inspection to the NFPA 211 annual standard - flue, crown, cap, and flashing checked and photographed
Chimney sweep logs do not sweep chimneys. They loosen some creosote - which then falls where a brush and vacuum still have to collect it.
Famco Crown Repair: The Austin Owner’s Guide
A Famco crown repair in Austin typically runs $425 – $780 installed, depending on how much of the existing crown is salvageable and the condition of the flue tile beneath it. We keep Famco-compatible crown components on our trucks, so most repairs we quote on a Monday are finished by Wednesday of the same week.
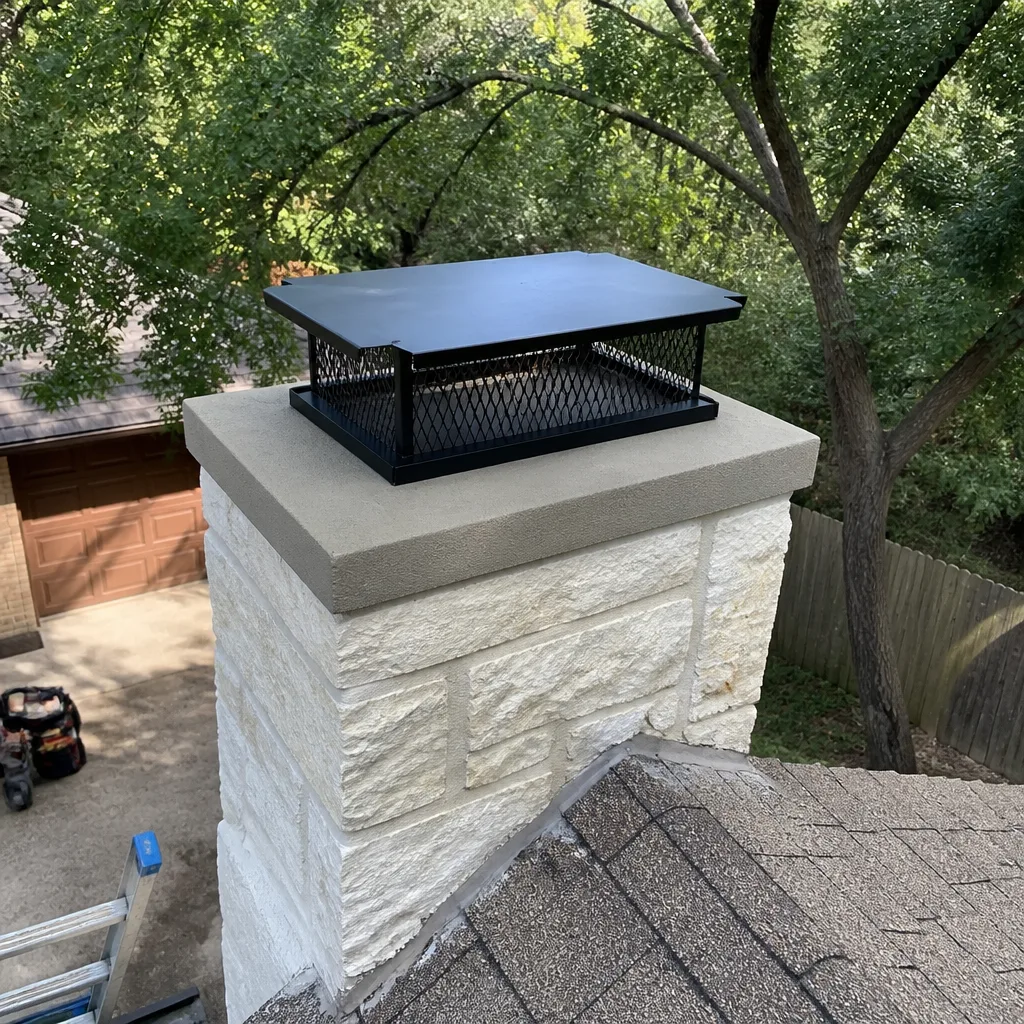
Most Austin homeowners discover the crown has failed the hard way: a water stain appears on the ceiling near the fireplace, or they notice a chalky white streak running down the brick face after a hard rain. The crown is the concrete or mortar cap at the very top of the chimney, and on Famco installations specifically, we see the outer seal bead crack first. Water gets in, freezes during a January cold snap, and the crack widens. By the time it’s visible from the ground, the freeze-thaw cycle has usually been working on it for two or three Austin winters.
Which Famco Models This Applies To
Famco crowns are found on their stainless steel and copper chimney systems, most commonly the Famco SC series (stainless chimney), CC series (copper chimney), and the older Famco Elite line that was installed across Austin subdivisions from the mid-2000s through about 2016. The crown sits atop the termination cap assembly and its job is simple: shed water away from the flue opening and keep it from running down between the chase and the pipe.
Here’s the compatibility gotcha most parts sites won’t tell you: a Famco crown is matched to the pipe diameter, not the model name. A 6-inch inner-diameter Famco SC crown will not seat correctly on a 7-inch system, even though the bolt pattern looks almost identical. The measurement you need is stamped on the metal tag riveted to the termination assembly, usually reading something like “Famco SC-6” or “Famco CC-8.” If that tag is gone or corroded, we measure the outer pipe diameter on-site, and that tells us which crown to pull from the truck.
On the OEM-versus-aftermarket question: we stock genuine Famco crown components and a limited selection of quality aftermarket replacements from Copperfield that we’ve used in Austin’s climate for years. Both work. The real variable is the sealant, which is why we re-bed every crown, OEM or not, with a heat-rated silicone that survives our summer sun without cracking. That’s the fix that lasts, not the metal itself.
Styles & brands we work with
Signs Your Famco Crown Repair Is Failing
- White mineral streaks on the brick or stucco below the cap. This is efflorescence, and it means water is leaching through the crown and carrying dissolved salts out with it. On a Famco system, the entry point is almost always the seal line where the crown meets the pipe collar, not the brick itself.
- Spalling brick or flaking crown surface. Freeze-thaw cycles in Austin – yes, we get enough of them in January and February – push trapped water outward as it freezes, popping small chips off the crown face. Once that starts, each hard rain makes it worse.
- Water in the firebox after a storm. A properly seated Famco crown should keep rain from running straight down the flue. If you open the damper and see a puddle, the crown has lost its seal, and the water is taking the path of least resistance into your home.
- Rust stains near the pipe collar or on the crown itself. The Famco crown is designed to isolate the steel pipe from standing water. A rust trace at the seam means water is pooling where it shouldn’t be, and that’s usually a degreded crown-to-pipe gasket, not a structural pipe failure.
- A shift in crown position you can see from the roof or a second-story window. We sometimes find crowns that have been lifted slightly by freeze expansion and are now rocking on the pipe collar. Ruben sees this most often on south-facing chimneys in Austin where the afternoon sun bakes the sealant until it hardens and cracks.
See the difference
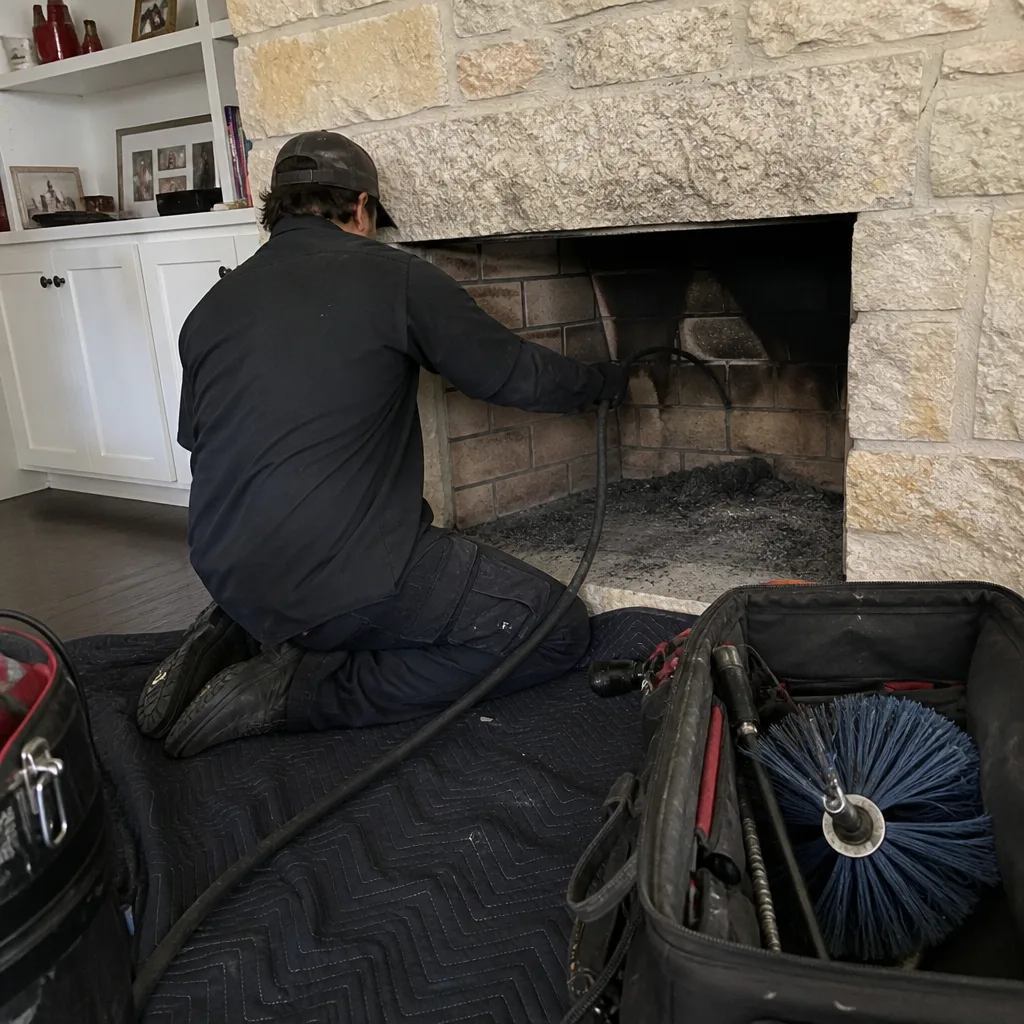 Before
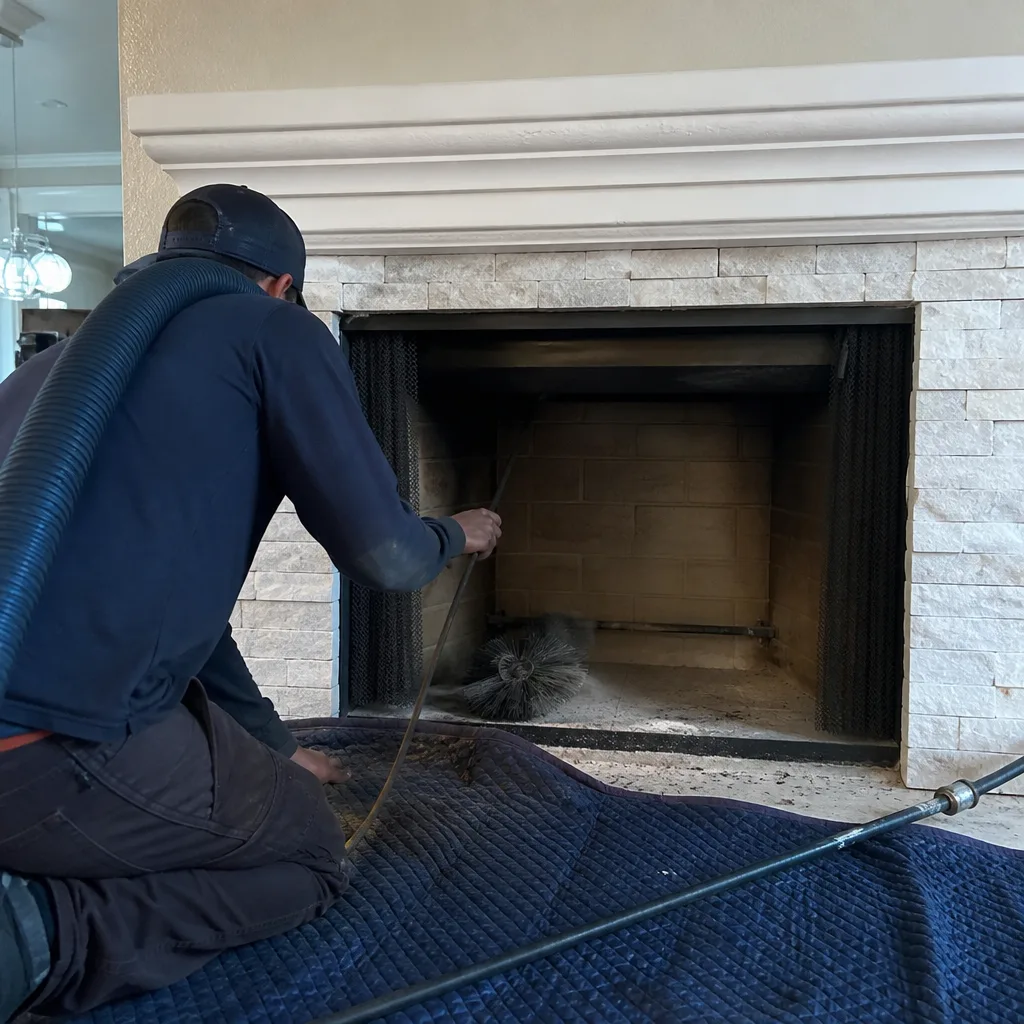 After
After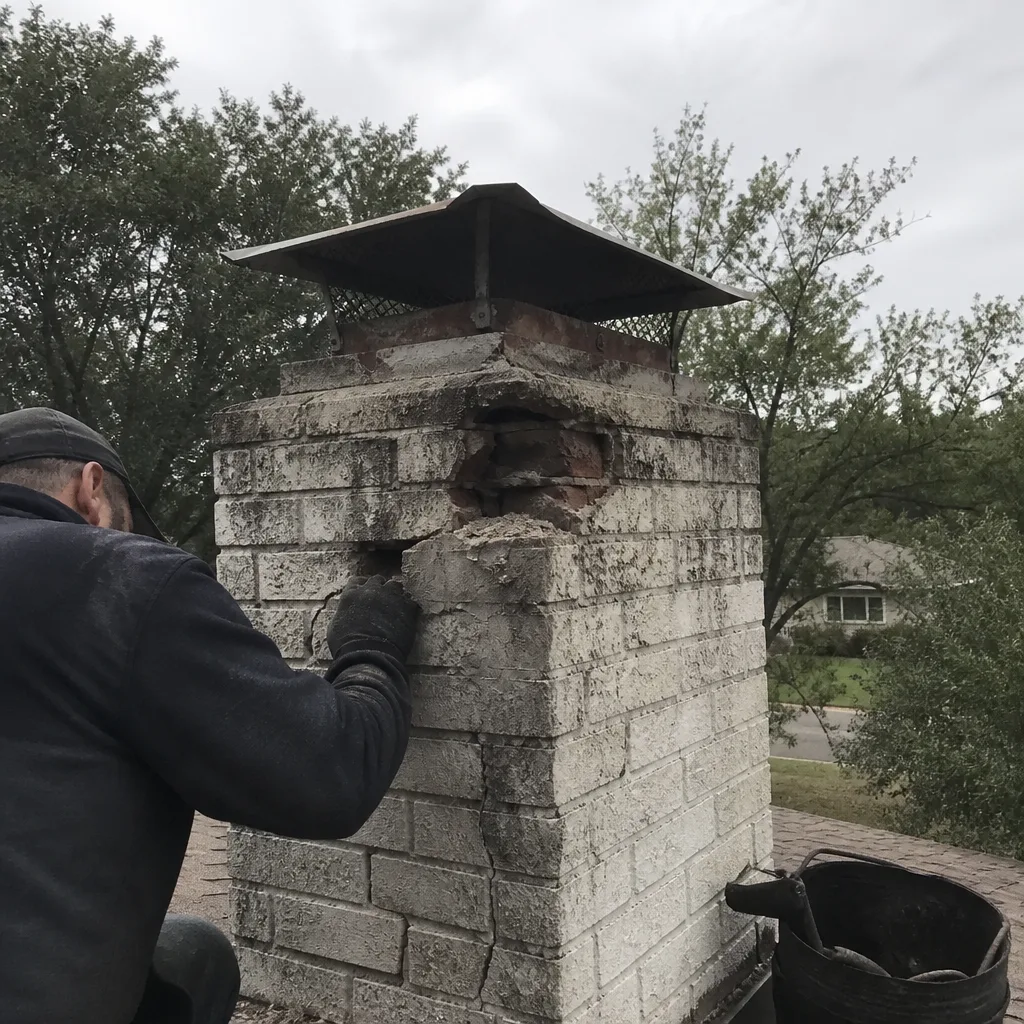 Before
 After
After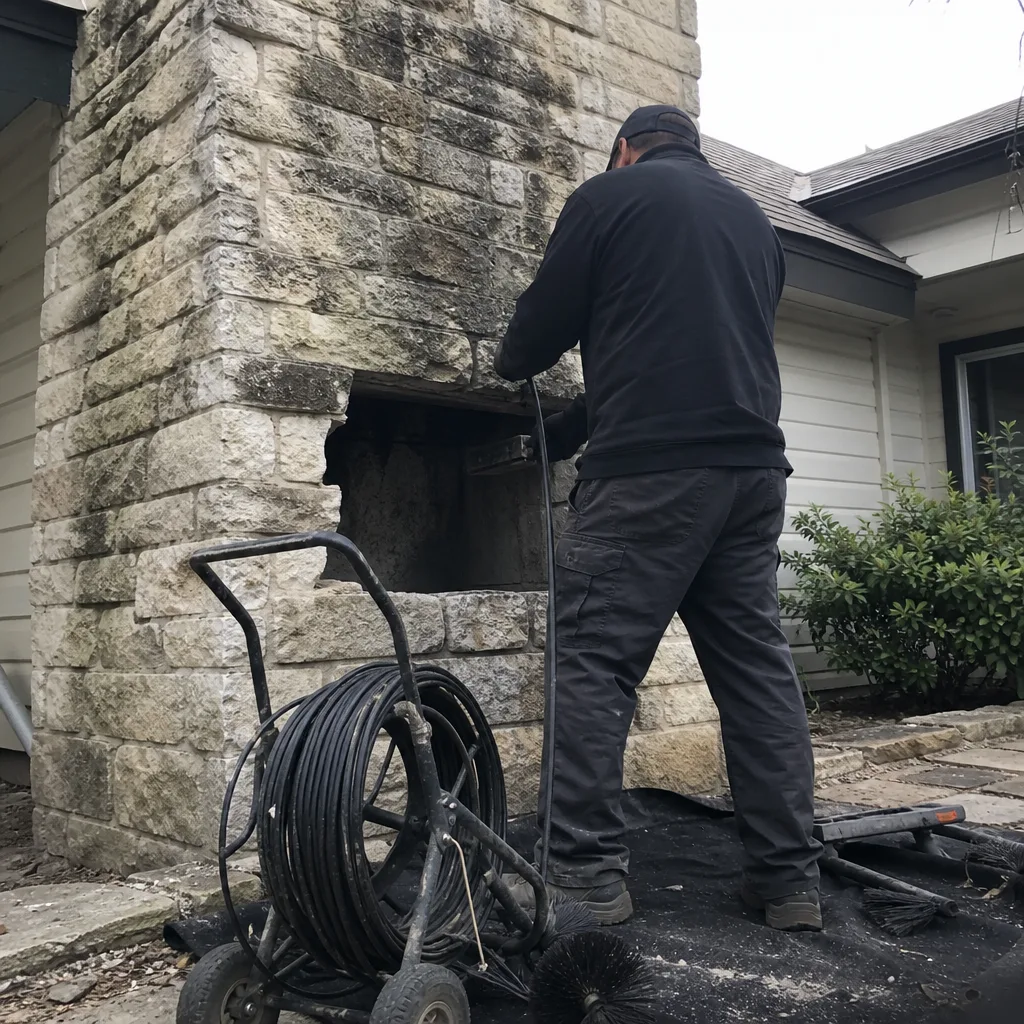 Before
 After
AfterReplacement Cost & What’s Included
A Famco crown repair on an Austin chimney falls into two pricing buckets. If the existing crown is intact enough to re-seat, re-bed, and re-seal, you’re looking at $425 – $560. If the crown itself is corroded, warped, or cracked through and we’re installing a new Famco or Copperfield replacement crown, the installed price lands between $560 and $780.
What pushes a job to the top of that range? A chase cover that also needs attention, flue tile repair beneath the crown, or an Austin roof pitch that requires a chimney stand-off bracket for safe work access. Every quote from Alcott Chimney Austin is written down before any work starts, and that written price includes the part, the labor, the sealant, the debris removal, and a photo report of what we found and what we did. The repair itself is covered by our 365-Day Done Right Promise. If the crown repair fails within a year, the second visit is free, full stop.
DIY or Call Us?
Let’s be straight about this part. The crown sits at the highest point of your chimney, often 20 to 30 feet above Austin grade. Working on it safely means being on a ladder or on the roof, and the last thing anyone needs is a homeowner on a 24-foot extension ladder, mid-summer, trying to torque a crown bolt on a shaky footing. That’s not a savings, that’s a medical bill waiting to happen.
What you can do safely from the ground: take photos of any streaking, staining, or visible cracking with your phone, note whether the damage faces north or south (it matters for how the Austin sun has treated the sealant), and check the firebox for water after the next heavy rain. Then call (361) 420-8585 and tell us what you’re seeing. Tell me what you’re seeing, and I’ll tell you what it actually means. Ruben would rather spend ten minutes on the phone with you than have you guess at it, and the estimate is free either way.
FAQs
A correctly installed Famco crown with a proper sealant bed will last 12 to 18 years in Central Texas, with the heavy variable being sun exposure on the sealant and whether the roof pitch puts the crown in direct afternoon heat. Most crowns we see that fail early, within 5 to 8 years, failed because of sealant breakdown or installation shortcuts, not because of a flaw in the Famco product itself.
Yes, more often than not. If the crown is still structurally sound – no cracks through the surface, no warping at the bolt points – we can clean, re-bed, and re-seal the crown in place. About 60 percent of the Famco crown jobs Ruben and the crew do in Austin are reseal repairs, not full replacements. Call (361) 420-8585 and we’ll tell you which one you have.
A straightforward Famco crown repair on an Austin home takes two to three hours on site, including setup, sealant cure time, cleanup, and the photo walkthrough at the end. If a full replacement is needed, plan for half a day, but it’s uncommon for us to need a second visit for a crown-only job.
We keep the most common Famco sizes on hand – 6-inch, 7-inch, and 8-inch SC and CC series crowns – plus the matching sealants and gaskets. If your system is an uncommon size or an older Elite-series line, we can usually have the correct part in hand within one to two business days and schedule you from there. We also stock and install crowns and caps from Copperfield, DuraFlex, and Gelco for systems that have been retrofitted over the years.
Written by Ruben Castellano, Owner, Alcott Chimney Austin at Alcott Chimney Austin, serving Austin and nearby areas.